Overview: How CursorLight Works
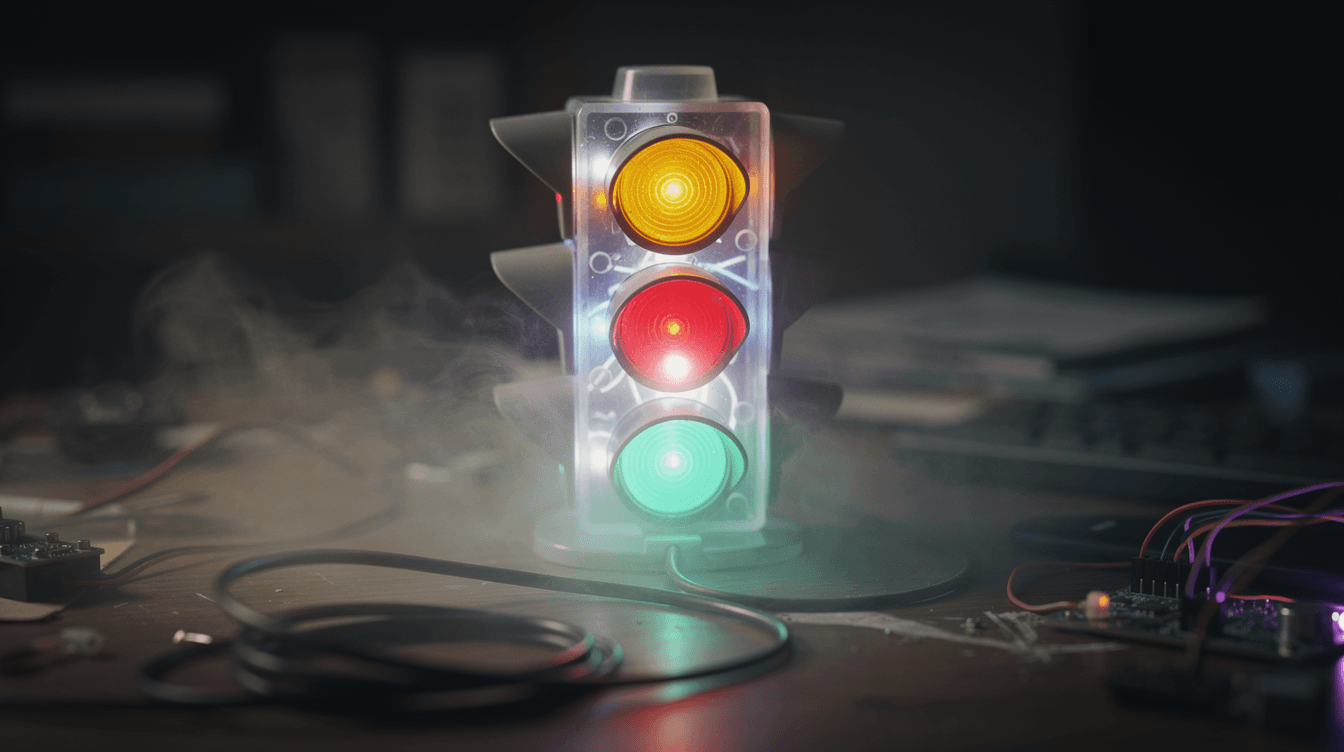
CursorLight turns a cheap traffic‑light desk toy into a physical status lamp for Cursor Agent, so you don’t have to watch the screen while AI works. A glance shows whether the agent is thinking, busy, waiting for input, or finished — and whether it succeeded or failed.
The toy is rewired so an ESP32‑C3 SuperMini controls its three original LEDs.
The ESP32 acts as a BLE peripheral (no Wi‑Fi).
A Python script on the computer sends short mode strings (thinking, success, etc.) over BLE, and the firmware translates them into chasing, blinking or solid effects with automatic time‑outs. Cursor Hooks placed in ~/.cursor/hooks fire the script on agent events, making the lamp fully automatic.
Hardware and Wiring
| Item | Details |
|---|---|
| Traffic‑light desk ornament | Common‑anode model |
| ESP32‑C3 SuperMini | USB‑C with pre‑soldered headers |
| 3 × 220Ω resistors (¼ W) | One per LED channel |
| Thin wire (30 AWG) | For internal rewiring |
| USB‑C data cable | Must support data, not charge‑only |
| Heat shrink / tape | Insulate solder joints |
| Soldering tools | Iron, solder, multimeter recommended |
Wiring (common‑anode board):
ESP32 3.3 V → lamp’s + terminal (common anode).
IO2 → 220Ω → L1 (green), IO3 → 220Ω → L2 (yellow), IO4 → 220Ω → L3 (red).
Leave the lamp’s negative wire disconnected.
Cautions: Solder only to exposed pads or component legs. Check for shorts with a multimeter before powering. For a permanent build, strain‑relief the wires with hot glue.
Software Setup and Flashing
Install Arduino IDE 2.x and add the esp32 board package by Espressif Systems (Boards Manager → search “esp32” → install “esp32 by Espressif Systems”). On the computer, install the Python bleak library:
macOS: python3 -m pip install bleak
Windows: py -3 -m pip install bleak
In Arduino IDE, select board ESP32C3 Dev Module, set USB CDC On Boot to Enabled, open the firmware sketch and click Upload. If upload hangs at “Connecting…”, hold BOOT, click Upload, and release BOOT when writing starts.
Open the Serial Monitor (115 200 baud) and press RST.
You should see:
BLE device name: CursorLight
and a list of supported modes.
Manual Control and Light Modes
Test the lamp directly with the Python script:
macOS: python3 cursor_light_ble_enhanced.py thinking
Windows: py -3 cursor_light_ble_enhanced.py thinking
| Mode | Light effect | Typical meaning |
|---|---|---|
demo | Rotates through effects | Boot / idle demo |
thinking | Smooth chase green→yellow→red | AI analysing, planning |
ai | Slow soft chase | AI generating code |
busy | Yellow slow blink | Build / test / install |
success | Green solid | Task completed successfully |
error | Red fast blink | Failure or error |
alarm | Alternating red/yellow with fade | Severe block, needs attention |
traffic | Red→green→yellow loop | Display / idle transition |
off | All off | Turn lamp off |
red | Red solid | Test or custom meaning |
yellow | Yellow solid | Waiting for user input |
green | Green solid | Idle or test |
Automatic Integration with Cursor Agent
Place the hook bundle inside ~/.cursor/hooks/cursor-light/ (macOS) or %USERPROFILE%\.cursor\hooks\cursor-light\ (Windows).
It contains:
- agent‑light.sh – decides the mode from the agent’s state
- ble_gate.py – debounces rapid calls so the lamp doesn’t flicker
- cursor_light_ble_enhanced.py – the direct BLE writer
- hook‑*.sh – Cursor Hook entry points
Merge the included hooks.json.snippet into your existing ~/.cursor/hooks.json (do not blindly overwrite).
Restart Cursor – the lamp will now light up automatically as the agent works.
The next part shows the exact install commands.
# macOS install
mkdir -p ~/.cursor/hooks/cursor-light
cd ~/.cursor/hooks/cursor-light
unzip ~/Downloads/cursor-light-bundle.zip
chmod +x *.sh
python3 -m pip install --user bleak
mkdir -p ~/.cursor
cp hooks.json.snippet ~/.cursor/hooks.json   # merge manually if the file already exists

# Windows install (PowerShell)
New-Item -ItemType Directory -Force "$env:USERPROFILE\.cursor\hooks\cursor-light"
Expand-Archive "$env:USERPROFILE\Downloads\cursor-light-bundle.zip" "$env:USERPROFILE\.cursor\hooks\cursor-light" -Force
Set-Location "$env:USERPROFILE\.cursor\hooks\cursor-light"
py -m pip install --user bleak
New-Item -ItemType Directory -Force "$env:USERPROFILE\.cursor"
Copy-Item ".\hooks.json.snippet" "$env:USERPROFILE\.cursor\hooks.json"
Configuration, Timeouts, and Limitations
BLE parameters (fixed):
Device name: CursorLight
Service UUID: b8b7e001-7a6b-4f4f-9a8b-11c0ffee0001
Characteristic UUID: b8b7e002-…
No pairing required.
GPIO assignment: IO2 → green (L1), IO3 → yellow (L2), IO4 → red (L3).
Auto‑timeout: After 5 minutes in any active mode (thinking, busy, success, error, etc.) the lamp switches to traffic.
After 10 minutes in traffic it turns off.
This prevents a lamp from staying lit indefinitely if a hook fails to close a state.
Known limitations:
• Common‑anode lamp boards only.
• No Wi‑Fi – control is direct BLE from the host; range is roughly the same room.
• Windows hook scripts currently need Git Bash.
• No OTA firmware updates (USB flashing only).
• Hardware damage possible if resistors are omitted or wiring is wrong; use a multimeter.
Troubleshooting and Best Practices
Best practices
- Always enable USB CDC On Boot in Arduino IDE before flashing.
- After any wiring change, test all modes manually (
green,thinking,busy,alarm,success,off). - Let ble_gate.py handle concurrency – never call the BLE writer directly from multiple hooks.
- Merge
hooks.jsoncarefully and restart Cursor afterwards. - On macOS, permit your terminal for Bluetooth in System Settings → Privacy & Security → Bluetooth.
- Let the auto‑timeout act as a safety net – your scripts can just fire and forget.
- Secure all wire connections with hot glue or UV resin.
Common symptoms
- Lamp not found – check ESP32 power, BLE name
CursorLight, computer Bluetooth, macOS terminal permissions. - Write fails – verify the service/characteristic UUIDs match the firmware.
- Effect flickers – make sure
ble_gate.pyis in the hook chain. - Cursor doesn’t trigger hooks – check that
hooks.jsonwas merged correctly and restart Cursor. - Lamp stuck in busy/thinking – auto‑timeout will clear it after 5 minutes; check
ble.login the bundle folder. - Colours wrong – confirm wiring: IO2→green, IO3→yellow, IO4→red.